 Tweet
Tweet
Re: I suppose its only fair I share my 16v GTE part restoration with you all
Well don't ya just hate how one simple little job turns into one simple one followed by about 3 difficult ones!!
A small section under the bonnet of the N/S chassis rail just below the battery shelf has been bugging me for weeks as the dirtiness of it just catches your eye so I thought time to dab a bit of smoothrite on it to smarten it up .....
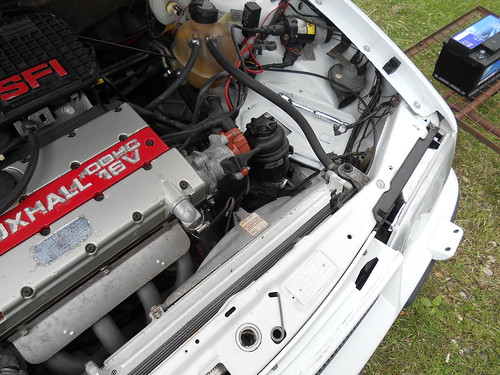
Just catches your eye (well did mine) .... so
Decided to just move the PSU header pot and bosh some pain on but not that simple as really the bottom hose is in the way so if I'm having that off then may as well remove the radiator as well .....
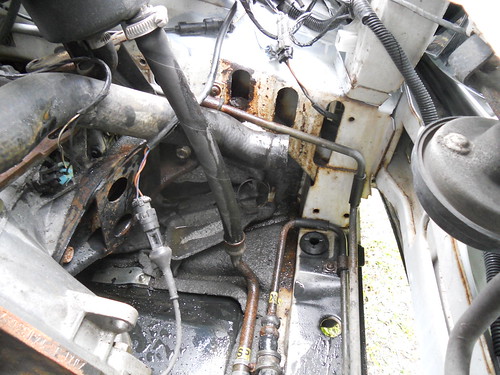
by right thats better can see what we are doing now ....
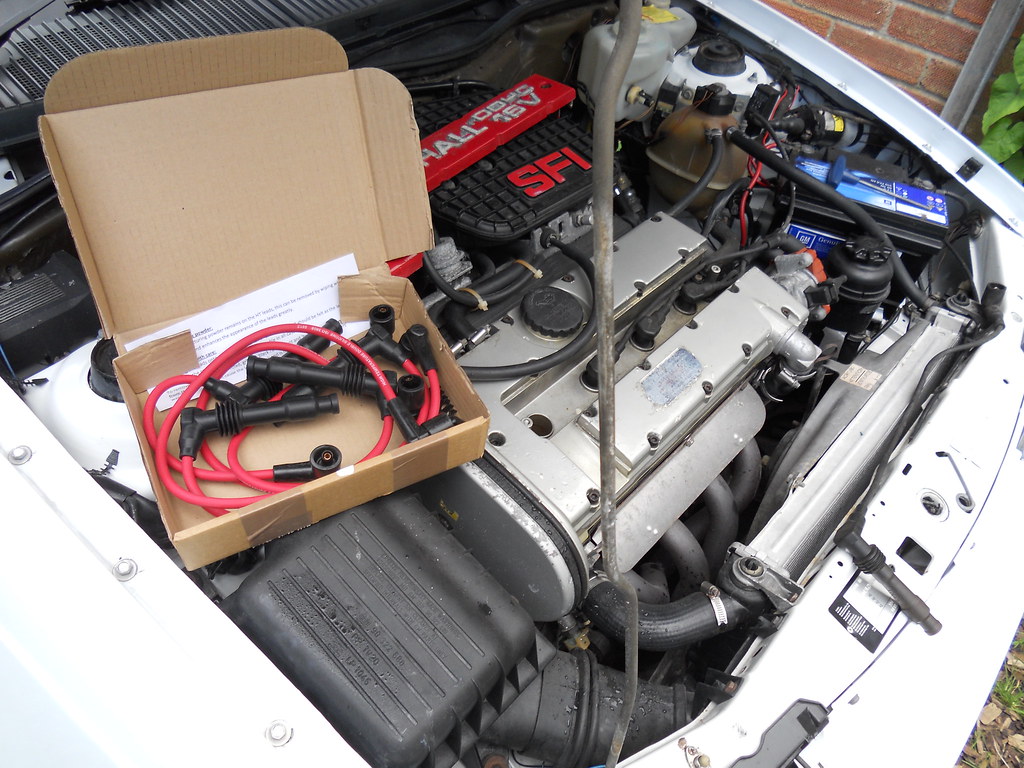
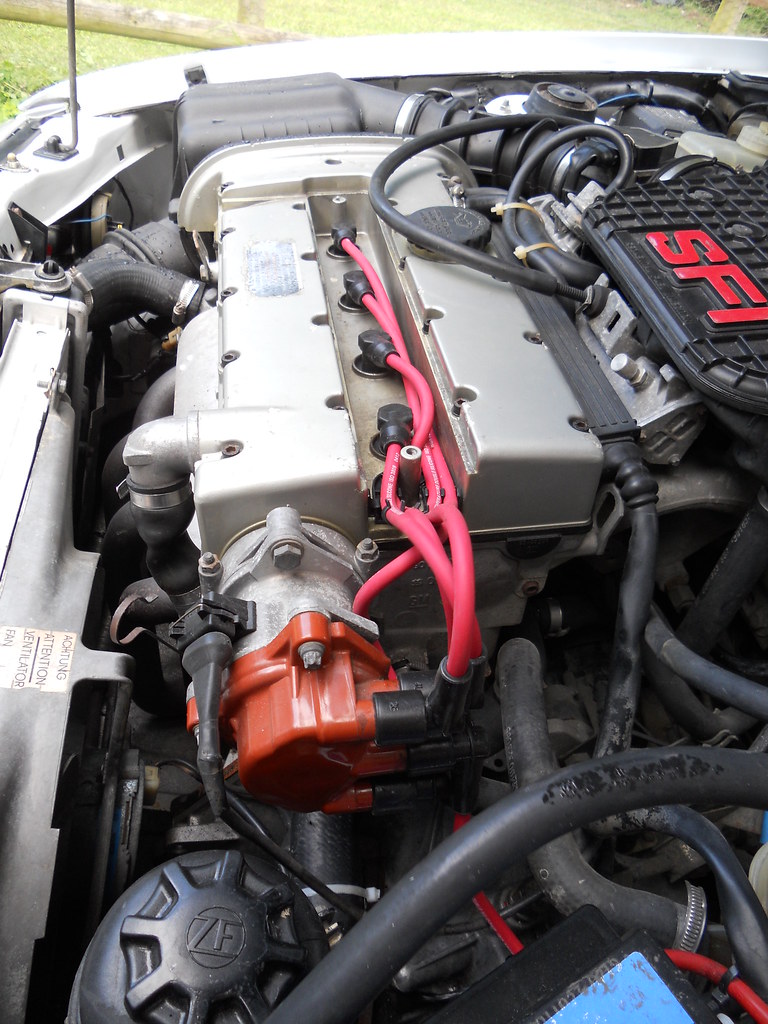
So heres job No.2 ... spotted these pipes in the barn the other day (and her-in-doors allways wants to know why I by so many of everything I need ... well glad I did as 10 years later "or 10 years from now I may" need one) ........
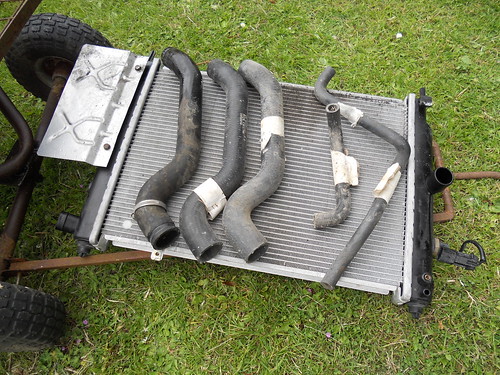
Nothing wrong with the one I removed but while I'm there may as well fit one of them ..........
As I managed to stab my hand on the clutch cable end I may as well fit my new cable while I'm about it !!
been sitting in the back waiting for an oppertunity ...... well! the bit under the dash (pedal end) was literly a pain in the ass and with my beggered back haing upside down to workout how to disconnect the pedal end took its toll and it was in for a quick shot of Oramorph to keep me going and then back out to study the Haynes manual........
Simple when you can see what U'r doing but I ended up removing the pivot pin and unhooking the spring and cable end ......

If youre fit and can work upside down then you just need to unhook the spring to release the cable end ..... I pulled the spring pin and undid the 15mm nut and pushed the pivot pin out ......
Looks like this when its out .....
The old one was worn and the nylon sheath gone through to the wire and bending the cable sounded like moving someone with rigormortis so was due for a change!!

.. excuse my mobile work bench .......
So anyway Cable in and adjusted and its nice and smooth and set at a better hight (was too high before) so thats job No.3 done ... or was it No.4 ???? .....

So need to clean this up a bit and a coat of rust inhibitor .....
Then some time later .........
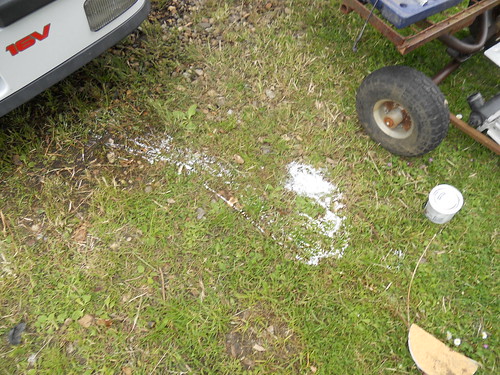
OOP's !! that was close .. knocked the tin on the battery tray and before it spillt I picked it up and lifted it out but then tipped it all over me hand and it was blowing in the wind like party spray towards the car !!! a real near miss !!!
I did manage to get some on the car "but only where I wanted it" phew ! .......
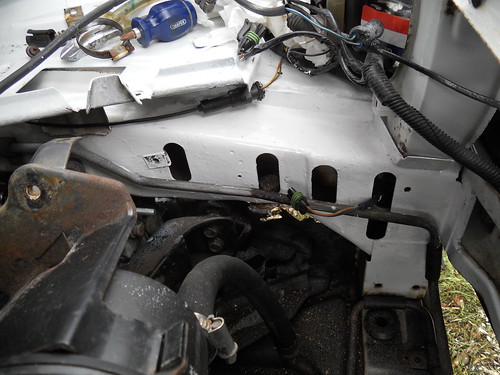
Not brilliant but better than the rusty distraction of before .....
Better if done with more time to spare as it got a bit knocked about putting the radiator and fan back in ..... (personal Note: remember to reassemble in the reverse order to what you took it apart !! saves having to unbolt the PAS tank and remove the bottom hose from the radiator to get the BLOODY fan and cowl back in :-p )..
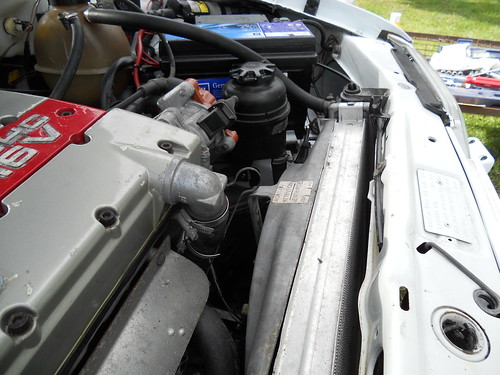
Refilled with 30% antifreez, ran it up until fan kicked in a few times and checked all hose clips and al looks good .....
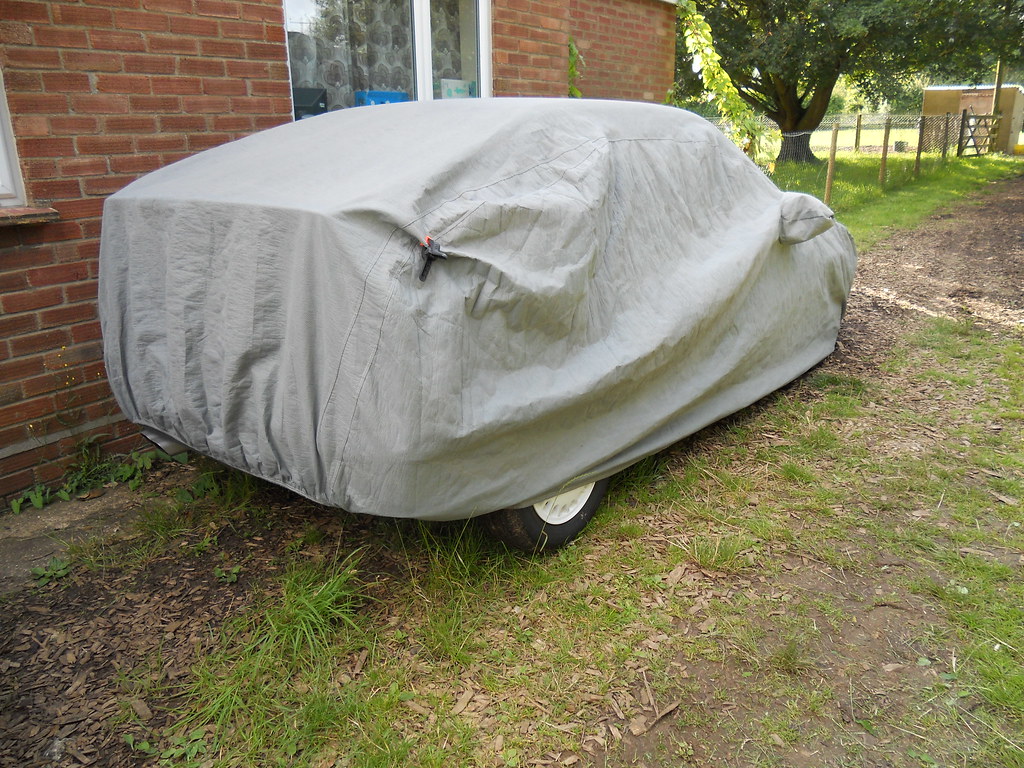
So the jobs "To-Do" list has shrunk and then grown and shrunk again .... and now I just added another small job to do which I just remembered ..... and theres still the wash and wax and hoover out before Billing .....
Well what better way to spend your Sunday afternoon?
Laurie.
Well don't ya just hate how one simple little job turns into one simple one followed by about 3 difficult ones!!
A small section under the bonnet of the N/S chassis rail just below the battery shelf has been bugging me for weeks as the dirtiness of it just catches your eye so I thought time to dab a bit of smoothrite on it to smarten it up .....
Just catches your eye (well did mine) .... so
Decided to just move the PSU header pot and bosh some pain on but not that simple as really the bottom hose is in the way so if I'm having that off then may as well remove the radiator as well .....
by right thats better can see what we are doing now ....
So heres job No.2 ... spotted these pipes in the barn the other day (and her-in-doors allways wants to know why I by so many of everything I need ... well glad I did as 10 years later "or 10 years from now I may" need one) ........
Nothing wrong with the one I removed but while I'm there may as well fit one of them ..........
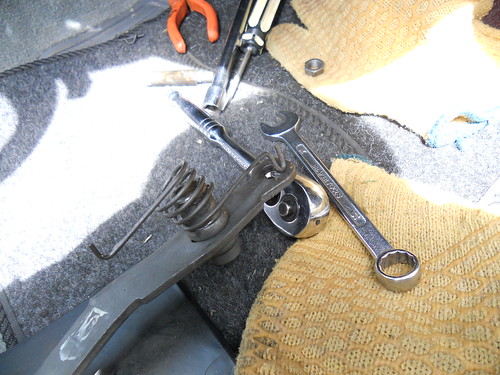
As I managed to stab my hand on the clutch cable end I may as well fit my new cable while I'm about it !!
been sitting in the back waiting for an oppertunity ...... well! the bit under the dash (pedal end) was literly a pain in the ass and with my beggered back haing upside down to workout how to disconnect the pedal end took its toll and it was in for a quick shot of Oramorph to keep me going and then back out to study the Haynes manual........
Simple when you can see what U'r doing but I ended up removing the pivot pin and unhooking the spring and cable end ......
If youre fit and can work upside down then you just need to unhook the spring to release the cable end ..... I pulled the spring pin and undid the 15mm nut and pushed the pivot pin out ......
Looks like this when its out .....
The old one was worn and the nylon sheath gone through to the wire and bending the cable sounded like moving someone with rigormortis so was due for a change!!
.. excuse my mobile work bench
.......So anyway Cable in and adjusted and its nice and smooth and set at a better hight (was too high before) so thats job No.3 done ... or was it No.4 ???? .....
So need to clean this up a bit and a coat of rust inhibitor .....
Then some time later .........
OOP's !! that was close .. knocked the tin on the battery tray and before it spillt I picked it up and lifted it out but then tipped it all over me hand and it was blowing in the wind like party spray towards the car !!! a real near miss !!!
I did manage to get some on the car "but only where I wanted it" phew ! .......
Not brilliant but better than the rusty distraction of before .....
Better if done with more time to spare as it got a bit knocked about putting the radiator and fan back in ..... (personal Note: remember to reassemble in the reverse order to what you took it apart !! saves having to unbolt the PAS tank and remove the bottom hose from the radiator to get the BLOODY fan and cowl back in :-p )..
Refilled with 30% antifreez, ran it up until fan kicked in a few times and checked all hose clips and al looks good .....
So the jobs "To-Do" list has shrunk and then grown and shrunk again .... and now I just added another small job to do which I just remembered ..... and theres still the wash and wax and hoover out before Billing .....
Well what better way to spend your Sunday afternoon?
Laurie.


Comment