Announcement

Collapse
No announcement yet.

The Champ Is Here.

Collapse
X
 
  • Filter
  • Time
  • Show
Clear All
new posts

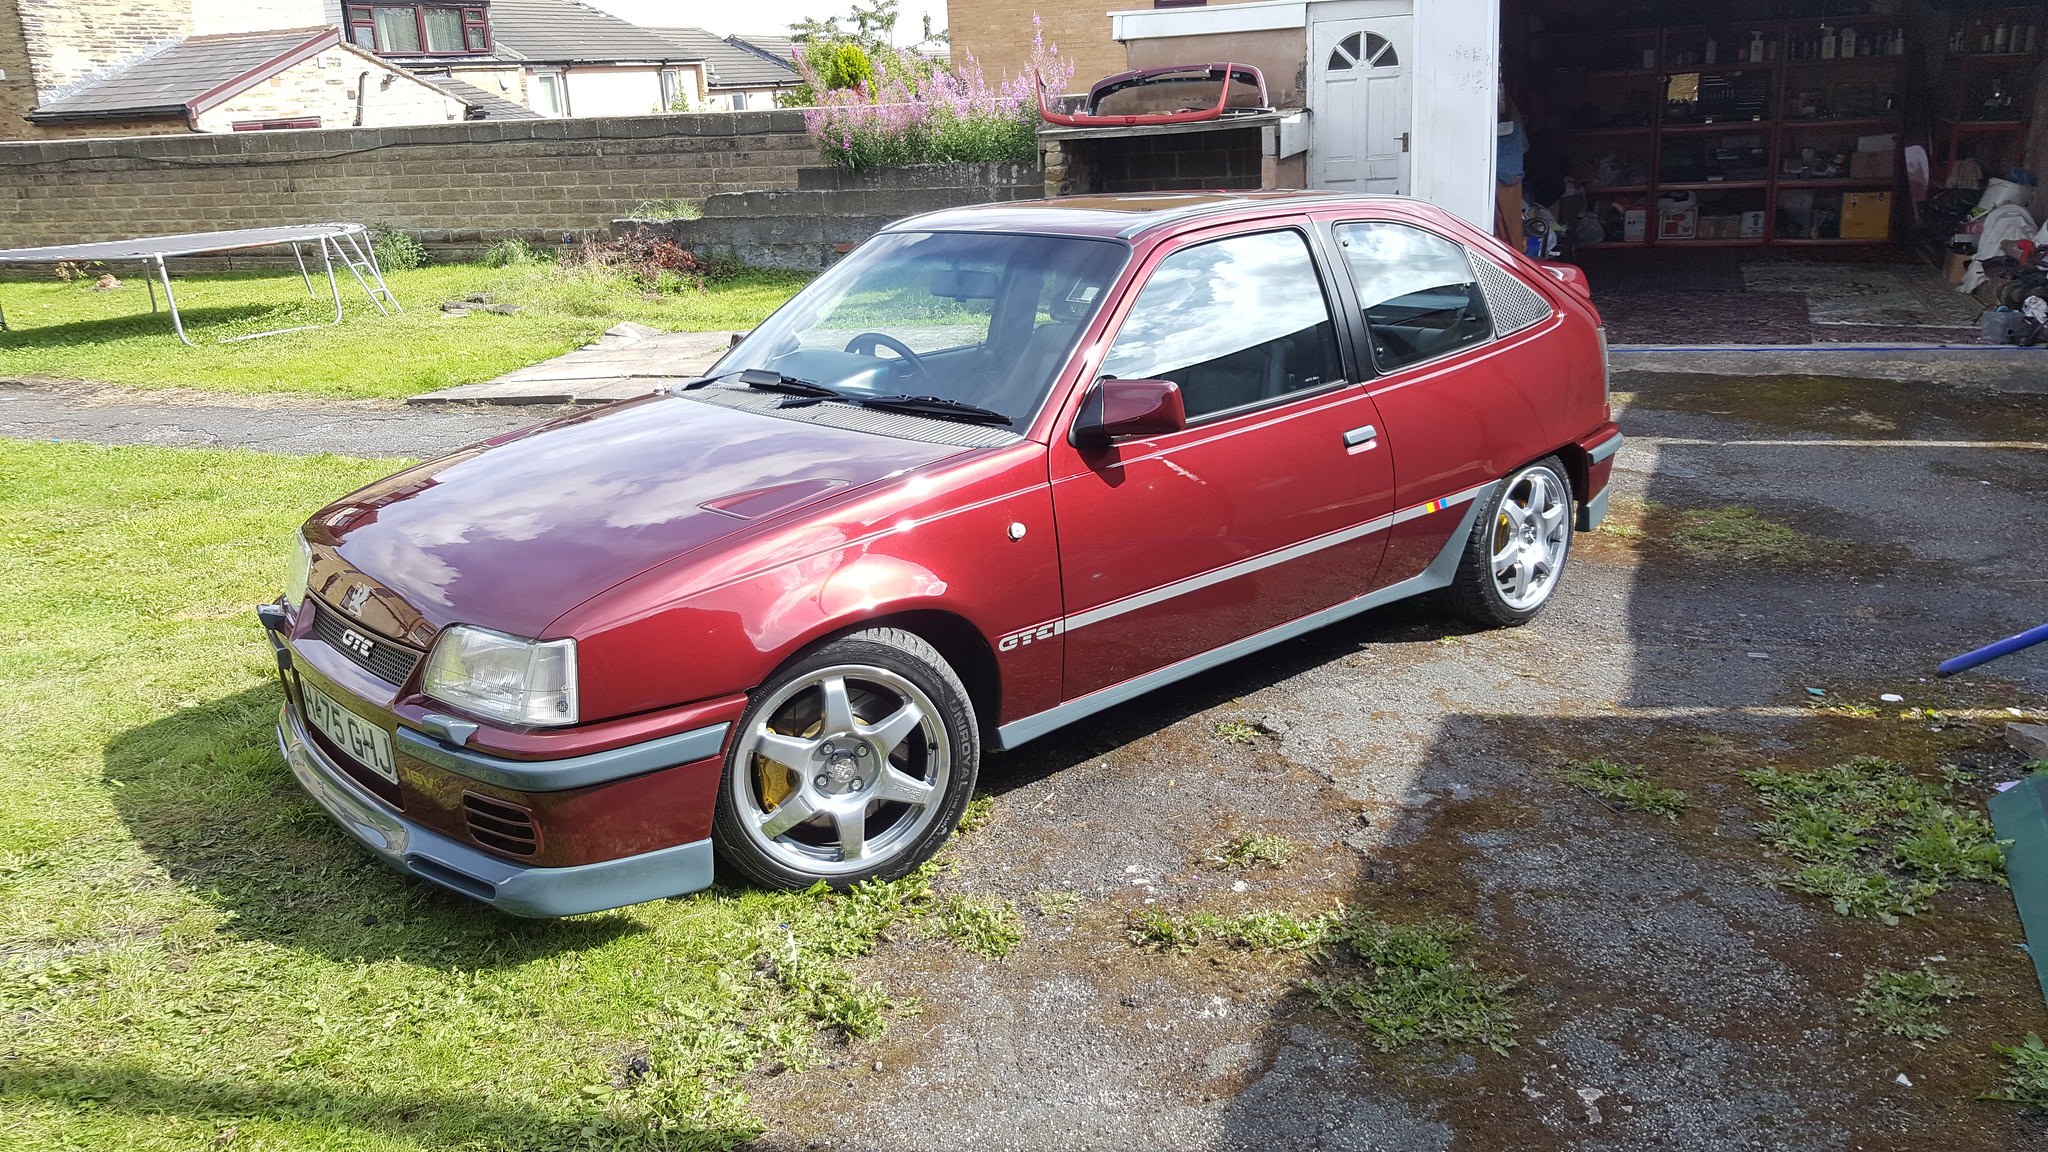
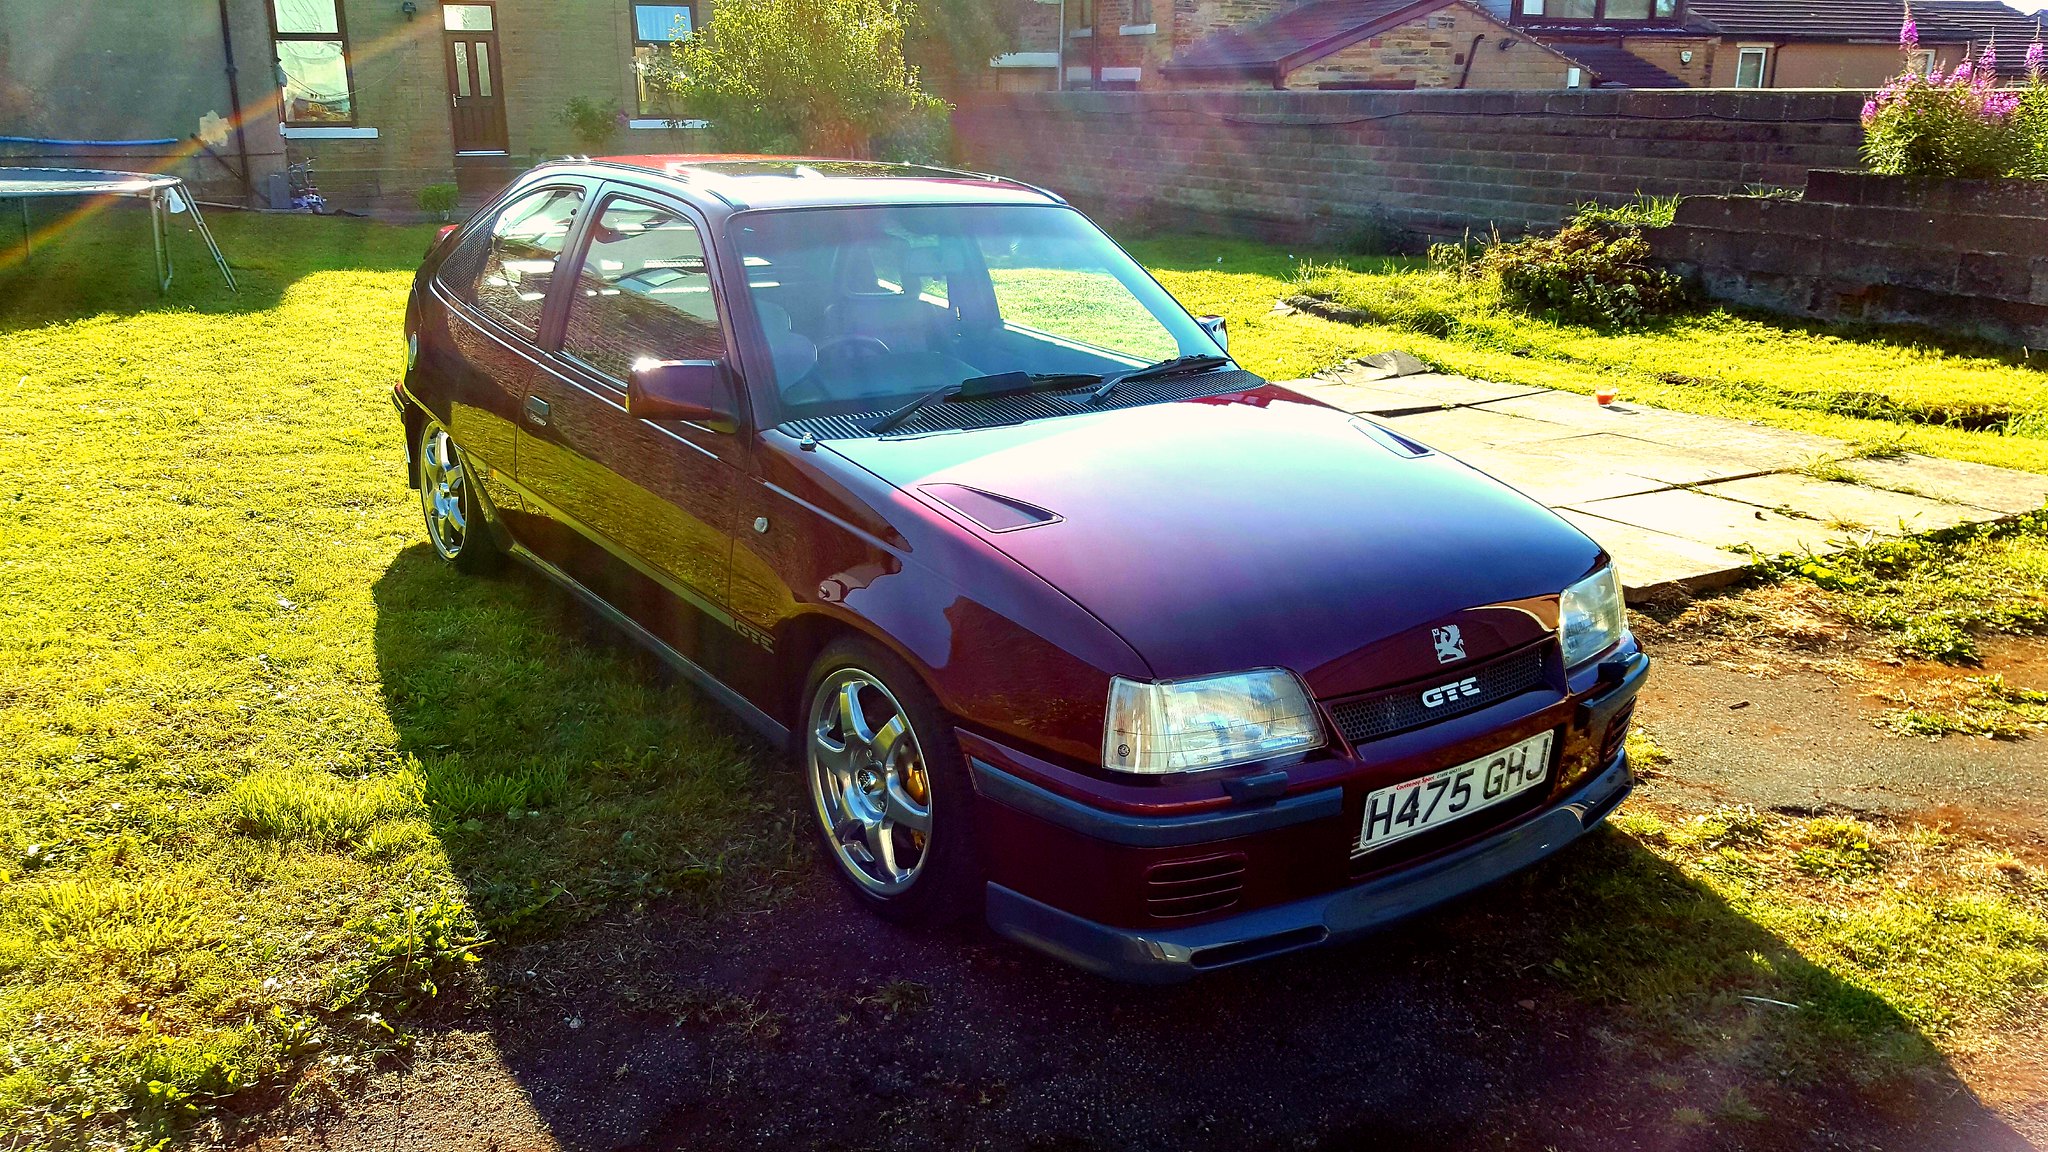
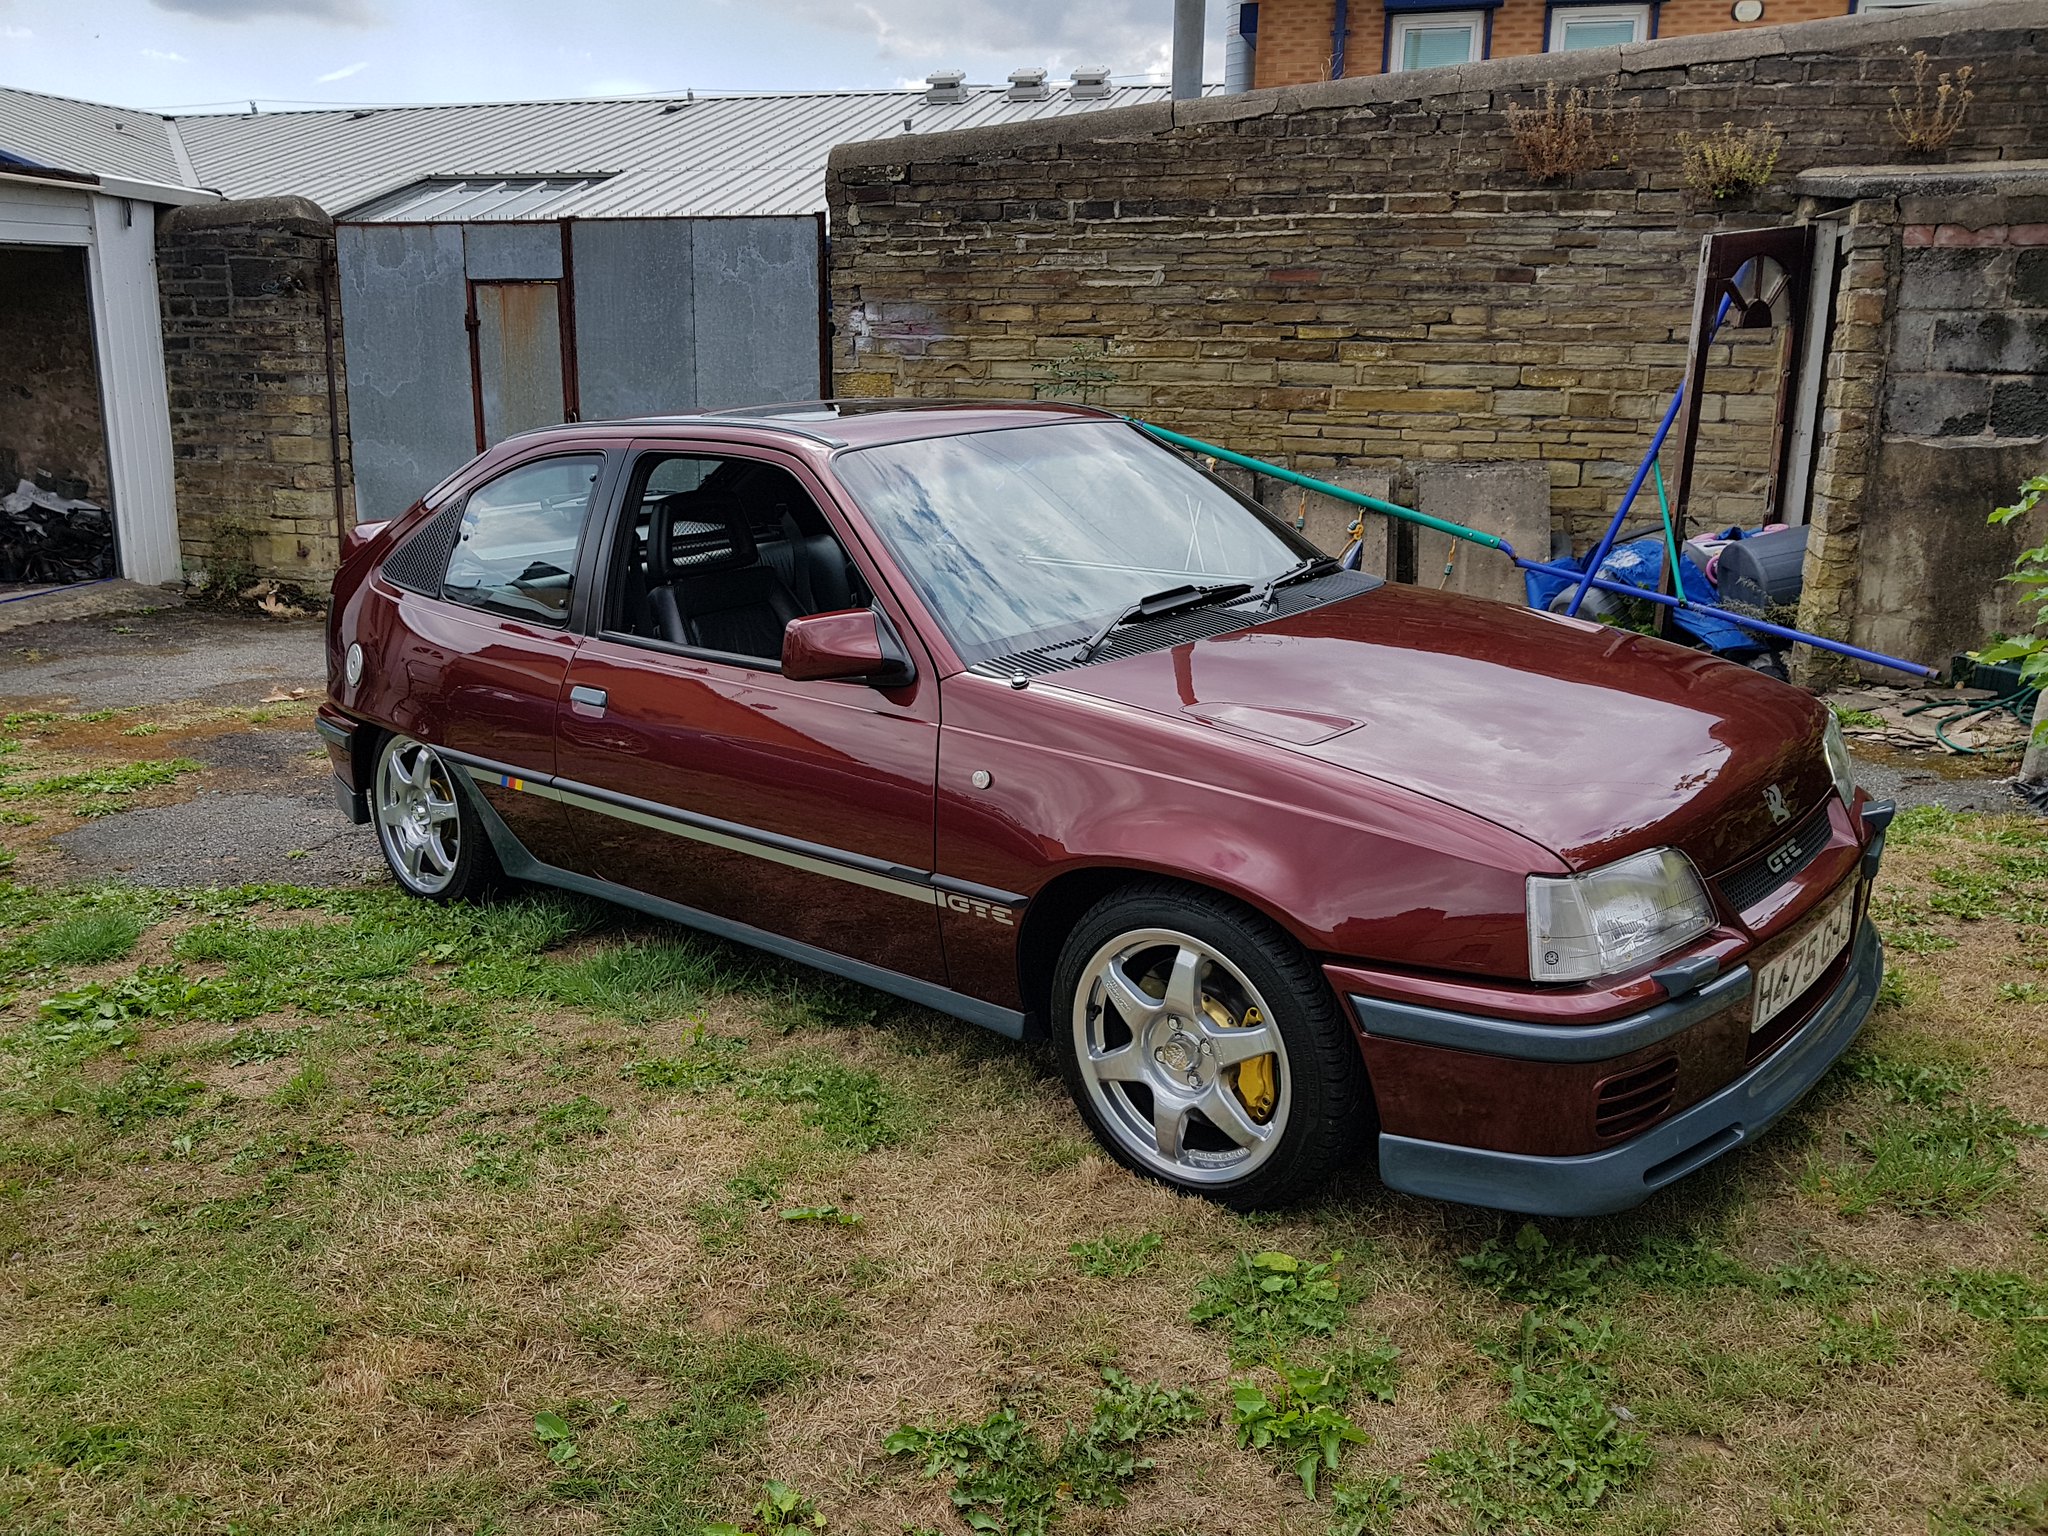
  • Thank you Clive and Roger ... usually i use Autoglym ultra deep shine which is for darker colours but on this occasion I thought I would try the Poorboys my neighbour was happy to let me sample and i got to admit it did make the paint work sparkle, btw i also bought some Autobrite products at the Vboa show so i will be giving them a try in the near future.

    Comment


    • Time to update before i forget, Mot was due last month safe to say the Champ passed a clean bill of health for another year, only covered 472 miles last year in total 
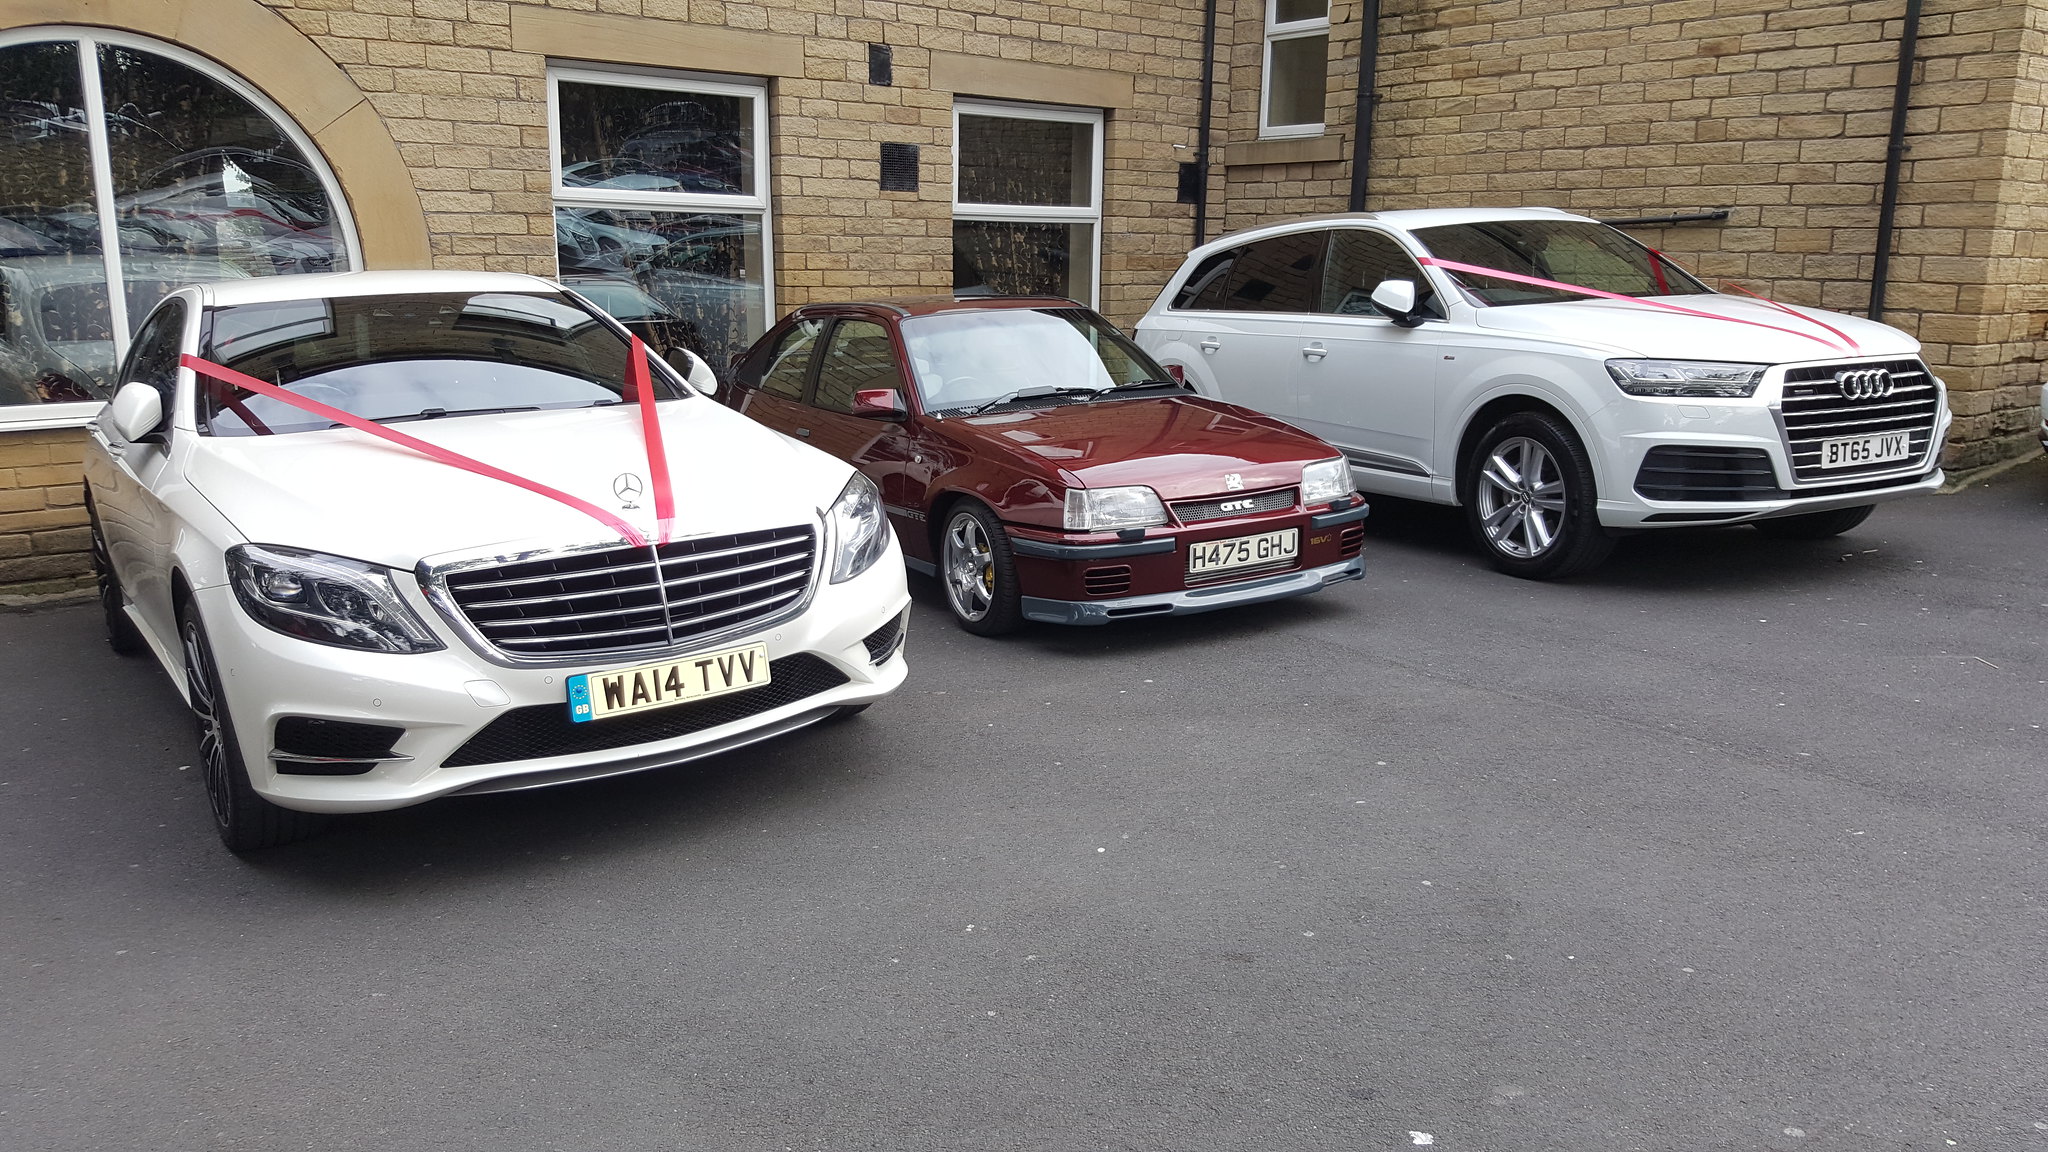
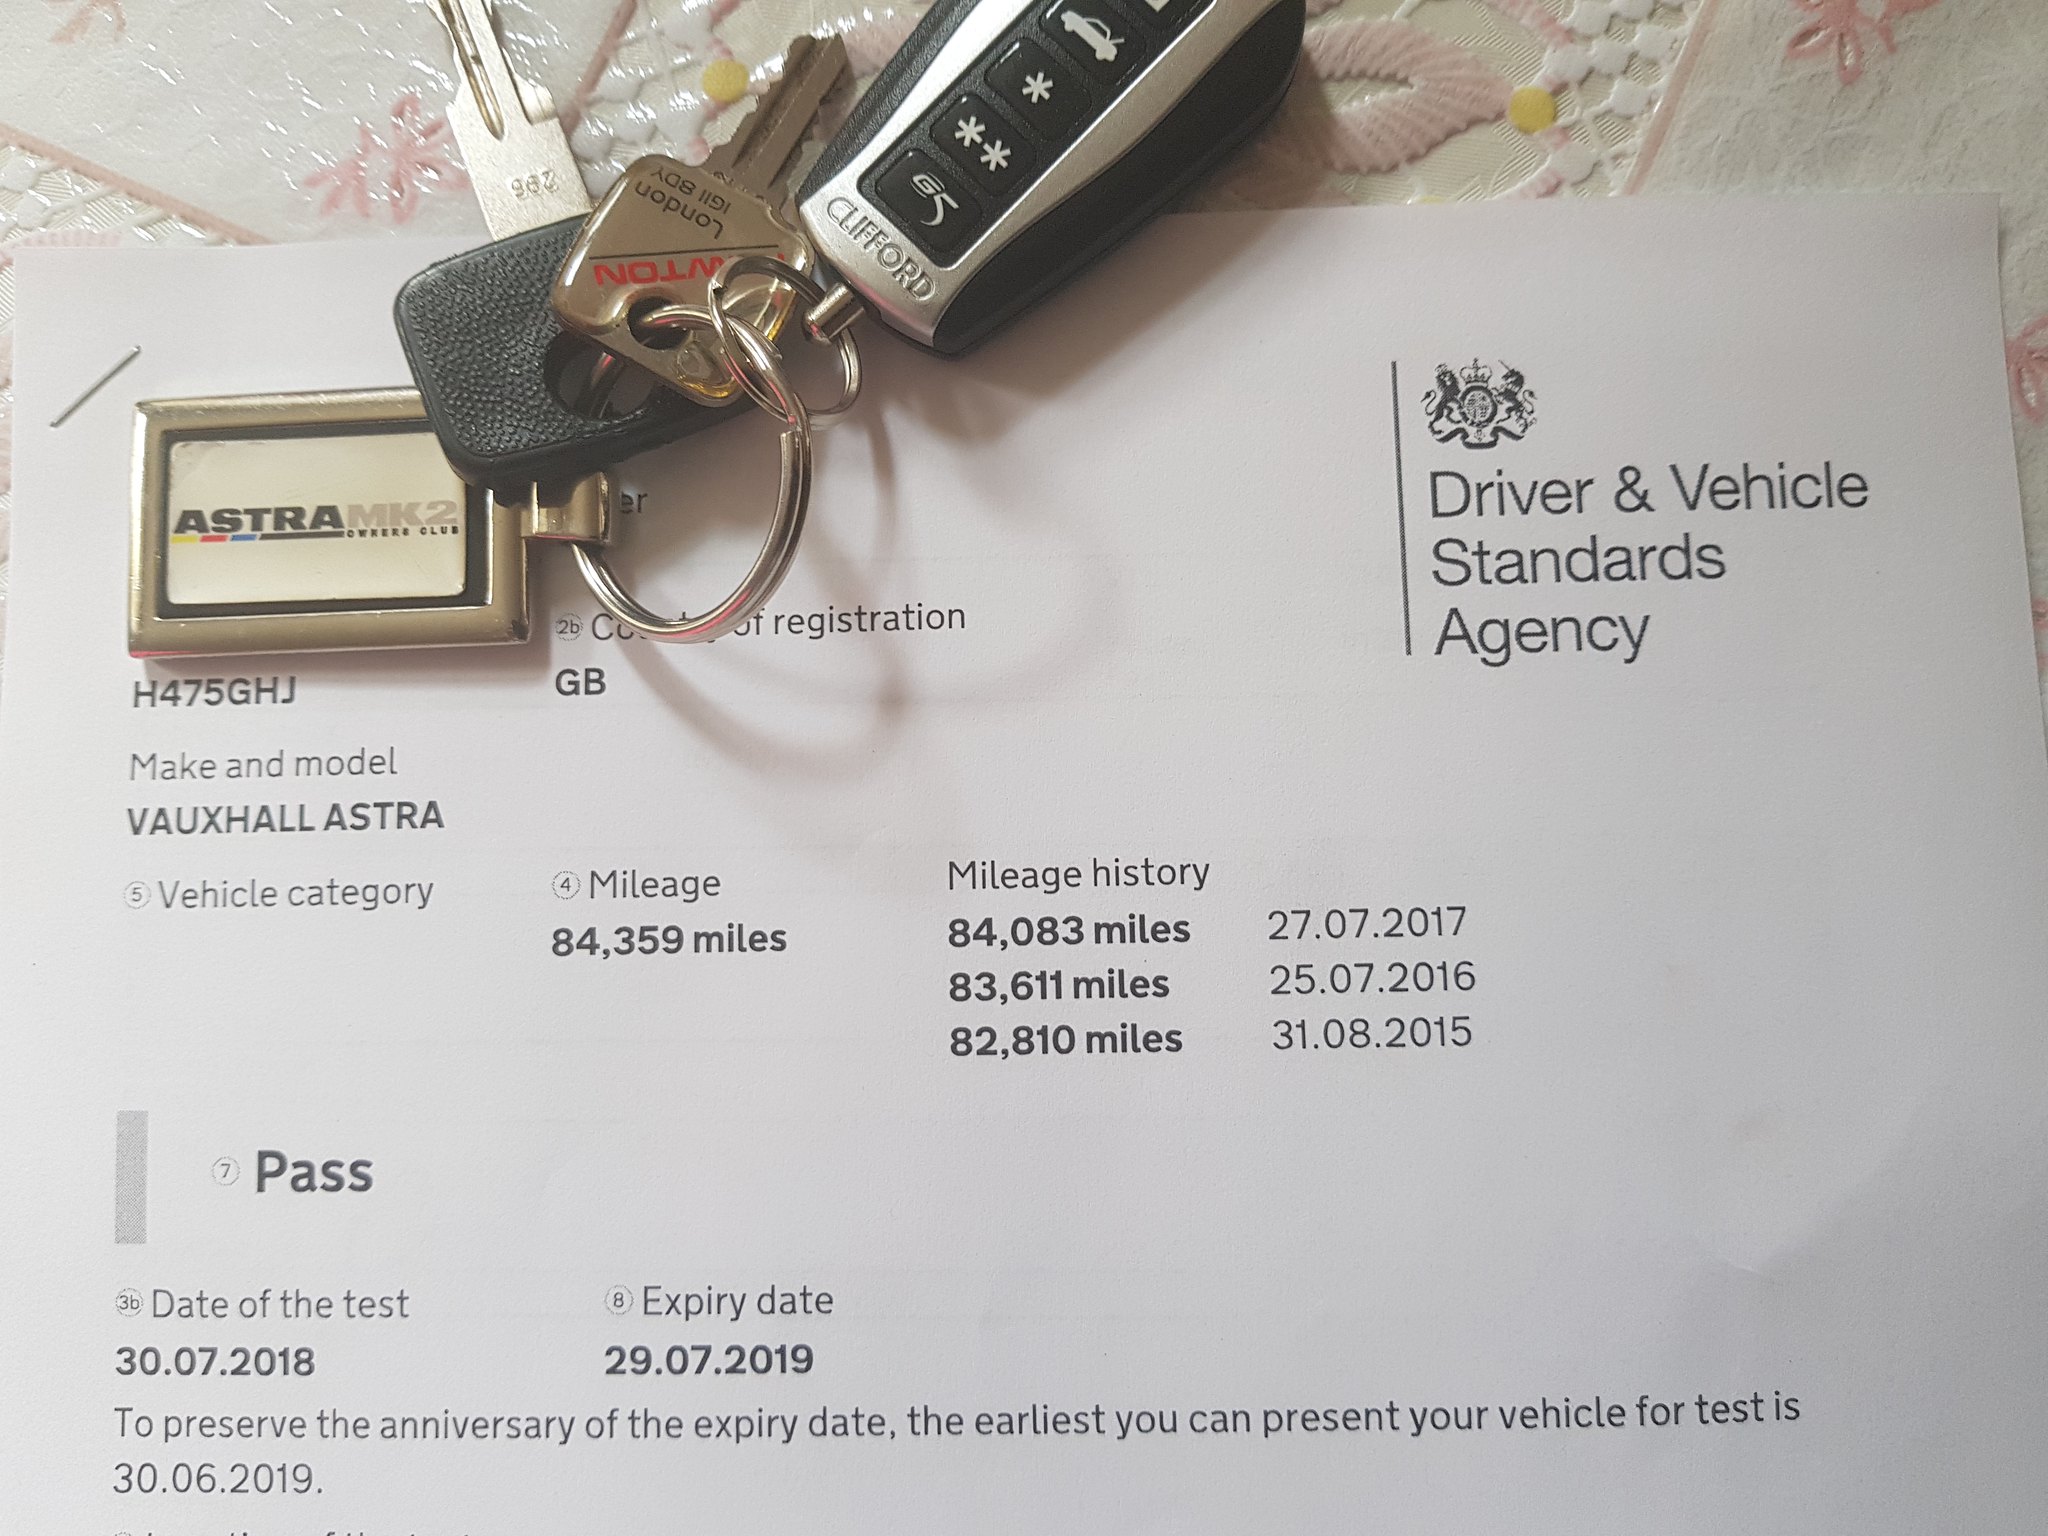
need to really start to use her a bit more.


      My nephew got married over the weekend he had requested to me a few days before i come in the Champ i didn't really want to go in the Champ because it had a very slight leak from the exhaust down pipe and i couldn't be bothered to fix it but at the same time i couldn't really let him down so i manned it up and had to sort it out!! I headed to my cousin Ash's garage and asked if i could use the ramp, up in the air after i removed the front Zender splitter.


      The exhaust was blowing from the turbo to down pipe the gasket had got ever so slightly damaged at the very bottom the 2 bottom bolts had work themselves loose and under pressure the gasket had split in 2 and had started to blow, the 2 bottom 11mm bolts were not playing nicely access was tight, the top 4 bolts were easy to undo after a bit of swearing twisting the arm and flicking the wrist all the bolts were undone thank-f**k


      Unfortunately i didn't have a spare gasket so i rang Mark Dobson and was advised to go to Halfords and buy a tube of Loctite SI5990 Silicone Gasket Maker for a temporary fix until i can source and order a couple of new gaskets,


      After i had removed the gasket i opened it up and cleaned that up from the center i then added some Loctite SI5990 on the inside of one of the layers of the gasket evenly then placed the other side on top and sandwiched the SI5990 in between both parts of the gasket left that to set for a short while then put a smear of SI5990 on both outer surface's got it into position and tightened everything up started the car up and left it on tick-over whilst i checked for any leaks, well pleased with the result i switched her off and let it cool off i put away the tools i borrowed and got cleaned up then set off home to clean the Champ for the evening function.

      Champ at home with the front Zender back on after a very quick clean,


      Looking a bit lost between the Mercedes S-Class & the Audi Q7,


      And a random pic i had taken a couple of weeks ago,

      Comment


      • Congratulations on a clear pass and no advisories with the MOT Terie.
        Great to see the car making a star appearance at a family wedding too.

        I remember recently seeing an original mini parked next to a range rover in a car park and the roof of the mini was in line with the door mirror of the Range Rover. Looked crazy but looking at your GTE in the picture between the Merc and Q7 it just goes to show how much cars have grown in size over the last 25 years. Almost crazy proportions now. No wonder people cant park these days!!. In terms of nose to tail dimensions the new Corsa is actually longer than the Mk2 Astra !!!!

        Your car is stunning mate great update.

        Comment


        • Thanks for the compliments Clive

          Comment


          • why are there two different headlight levelling switches.

            WHY! ?

            i like the boss grills in the bumper !

            Comment


            • Originally posted by DarrenH View Post
              why are there two different headlight levelling switches.

              WHY! ?

              i like the boss grills in the bumper !
              Darren there are 2 different headlight leveling switch's because the 1st one i bought with the letters DN was a ebay impulse buy i never checked the epc to see which switch i would need i actually thought any early type headlight switch would work all the way throughout the earlier Vauxhall range until i fitted it and realized that it was not functioning correctly maybe it was faulty im not sure but one thing for sure it did't work on my set up so after doing a search i found the DN switch was for the Calibra; part number 90356586, http://ecat24.com/opel/catalog/part/...826,4824,4829/,
              i remembered Gary Malia had also fitted the leveling kit so i rang him and after speaking with him he advised to go for the switch with DF ident part number 90270514 used on the Corsa B, he sent me a picture of the part numbers on the side of the switch and i found that this DF switch also had the part number 90346276 stamped on the side along with some others, part number
              90346276 is the actual part required for the Kadett e/ astra mk2 but is NLS (no longer serviced) http://ecat24.com/opel/catalog/part/...95/2298/22990/, i did a search on ebay and found a NOS (new old stock) DF
              90270514 and bought it fitted it and it works a treat everything works as it should.

              The boss grills are my 2nd set!! the 1st set i had back in 2011 my original painter wouldn't fit them for me because they were fiber glass copies and needed some work to get them fitted so a chap in a silk violet gte16v said he wanted them so a deal was struck,, last year 2 sets of boss grills came up for sale with the brake ducts from SA so i bought a pair btw these weren't cheap.


              brake ducts not fitted i will get round to them at some point though.

              Comment


              • lovely motor mate , what inter cooler you running ?

                Comment


                • Originally posted by brooner22 View Post
                  lovely motor mate , what inter cooler you running ?
                  Cheers mate... the intercooler is from a td5 fits very very well and is equivalent to a frontera intercooler, I'm going to be changing the whole set up very soon so c20let engine and all boost pipes and intercooler set up will be up for grabs.

                  EBay link to intercooler currently fitted..

                  Find many great new & used options and get the best deals for Genuine Land Rover TDCI / Puma Intercooler LR017950 at the best online prices at eBay! Free delivery for many products!


                  Comment


                  • cheers for that Information mate , Yeah the inter cooler i have is to Big for my liking as had to cut the cross member a little bit which i don`t like . Why you changing the whole set up ? can easily sell me the whole car ha ha ha

                    Comment


                    • Originally posted by brooner22 View Post
                      cheers for that Information mate , Yeah the inter cooler i have is to Big for my liking as had to cut the cross member a little bit which i don`t like . Why you changing the whole set up ? can easily sell me the whole car ha ha ha
                      20k it' yours lol....

                      Its running eds ph2 atm and would like to add a bit more power hence forged upgrade and Emerald k6 ecu.

                      Comment


                      • Update...... Champ had its Mot today and im happy to say it passed with flying colours,

                        [url=https://flic.kr/p/29DWGB4]


                        only covered a measly 276 miles but hey ho at least its better than none at all,

                        Comment


                        • Hello everybody wow it's been a long time glad to see some members still posting on the forum and good to see some new projects starting and some older ones still going with threads being updated... think i will be updating and visiting the forum alot more frequently now with the current climate.

                          Can't belive its been almost 2 years since i last updated this thread any how here goes, 1st thing spring 2019 repaired the garage roof as we had a leak after almost 12yrs then give the Champ a well deserved oil change and a new starter motor just before Vboa 2019, reinstated the old school Alpine 7618r & CD Changer, had the Mot and as per usual passed with flying colours, attended Vboa 2019 it was a very good turn out and the new venue was superb, met up with the usual crowd had a brilliant time and taken a few pictures.... at the time of the oil change i noticed a oil leak from turbo oil return pipe to block only got round to doing that during lockdown as i couldn't source a Oe pipe, i eventually give in and bought a red Roose replacement from ebay this year..... the roof lining has seen better days and has started to sag at the rear and has began to bubble in the front corners and by the sun visors so i have sourced a replacement liner that needs refurbishing so that's next on the list, as a matter of fact i'm actually in the middle of the refurb more update's to come on that in the next post.

                          filedata/fetch?id=525215&d=1586800391&type=thumbfiledata/fetch?id=525216&d=1586800515&type=thumbfiledata/fetch?id=525205&d=1586819952&type=thumbfiledata/fetch?id=525206&d=1586819979&type=thumbfiledata/fetch?id=525207&d=1586820082&type=thumbfiledata/fetch?id=525208&d=1586820171&type=thumbfiledata/fetch?id=525209&d=1586818374&type=thumbfiledata/fetch?id=525210&d=1586820523&type=thumbfiledata/fetch?id=525211&d=1586820645&type=thumbfiledata/fetch?id=525212&d=1586820602&type=thumb
                          You do not have permission to view this gallery.
                          This gallery has 10 photos.
                          Last edited by G.TERI.E; 14-04-2020, 01:27 AM.

                          Comment


                          • The things we do whilst in lockdown,

                            Had some parts that needed fitting for what seems like a lifetime and thought now is a good time to fit them, 1 more tick, 1 less job checked off the to do list by this evening, had to do a online order for the 8mm fuel pipe and hose clips from Halford's click & collect also bought the double sided tape as need to remove and refit a couple of the side rubbers as a couple of them keep coming away from near the edges.

                            Weber fpr, VXR 470cc injectors and TX blanking plate.
                            20200418_160748.jpg

                            ​​​​​​ 20200418_160838.jpg

                            Old injectors.
                            20200418_164720.jpg
                            20200418_164401.jpg

                            Injectors and blanking plate fitted.
                            20200418_172402.jpg

                            20200419_122126.jpg

                            ​​​​​​Spoken to Laney and been advised to set the fuel pressure at 3.5bar vac off untill I can get the fueling set up correctly, will be a live road map by Saj @Iconperformance.


                            ​​​

                            Comment


                            • All done for now fuel pressure set at 50psi roughly 3.5bar with the aeromotive fuel pressure gauge.
                              20200419_170443.jpg 20190718_225434.jpg
                              Last edited by G.TERI.E; 19-04-2020, 07:40 PM.

                              Comment


                              • Roof lining on the Champ has began to bubble in a few places and won't be long before it starts to sag!

                                I acquired a spare lining from Tanner Harris last year with many thanks , the lining was a bit tatty with finger prints and years of grime but surprisingly still intact still though I decided to strip it down and recloth it, i ordered spray glue and material from Martrim after i had a read of Darren Hilburn's thread, after I stripped it down I was advised not to use the spray glue as it wasn't suitable so made another order for the high temp 120c spreadable glue.
                                Screenshot_20200425-230041_Chrome.jpg20200425_121624.jpg

                                Sample next to original lining and spare lining prepped for new material,
                                20200425_121330.jpg20200423_175619.jpg
                                Borrowed this little guy from my mate Jeff to help rough the lining up so the glue has more of a chance to key together.
                                20200423_175825.jpg
                                Gave the lining a wipe down with a cloth to shift any loose bits and dust then applied the glue to the lining a 3rd at a time, due to good temperature we had today the glue went off a bit quicker than i liked which didn't leave any room for errors, the skrim foam also played a big part in absorbing up the glue... Half a tin was used.
                                20200425_144032.jpg
                                I went round the edges again with the glue for good measure just to make sure there was no loose bits to avoid any peeling.
                                ​​​​​​
                                20200425_194151.jpg
                                ​​​Once it was dry i trimmed the edges and made the cut outs, next job is to install it hopefully in the next few days just give it some time to cure and in the meantime I'm sure I will find something else to do.
                                Last edited by G.TERI.E; 25-04-2020, 11:51 PM.

                                Comment

                                Working...
                                X